
The OBS+ is set up with its own LAN (Local Area Network), consisting of the two Mac Minis and the camera. The Mac Mini IP addresses are set up to be in the same IP “neighborhood” as the camera, so they will all talk to each other, like good neighbors should. 🙂
Default Settings
The default IP address for the camera is 192.168.100.99
The OBS+ Recording Mac Mini should be set up as follows:
Configure IPv4: Manually
IP Address: 192.168.100.100
Subnet Mask: 255.255.255.0
Router: 192.168.100.1
The Presentation Mac Mini should be set up as follows:
Configure IPv4: Manually
IP Address: 192.168.100.101
Subnet Mask: 255.255.255.0
Router: 192.168.100.1
With the Wi-Fi off, this allows default behavior; i.e. the OBS+ Recording Mac Mini will be able to receive the screen share from the Presentation Mac Mini. And you will be able to recall your two camera zoom presets from the control panel.
Adding Wi-Fi
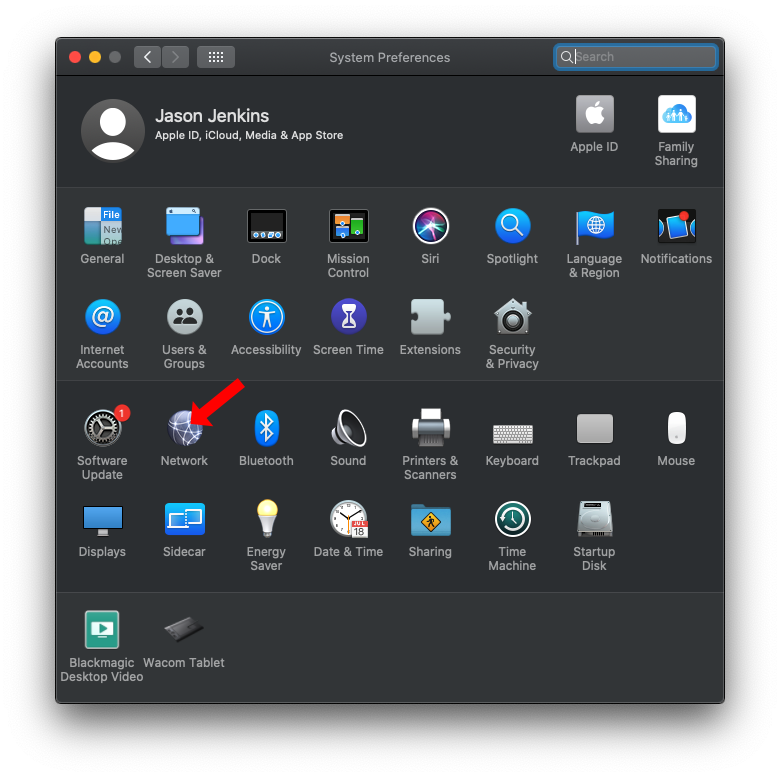
In System Preferences, go to Network.
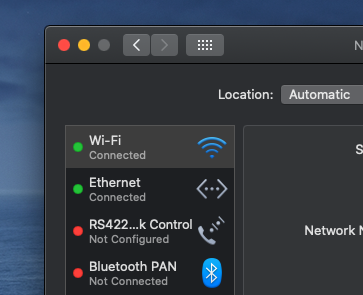
In the Network settings left-hand column, you will see both your ethernet and Wi-Fi connections. Click the Turn Wi-Fi On button. 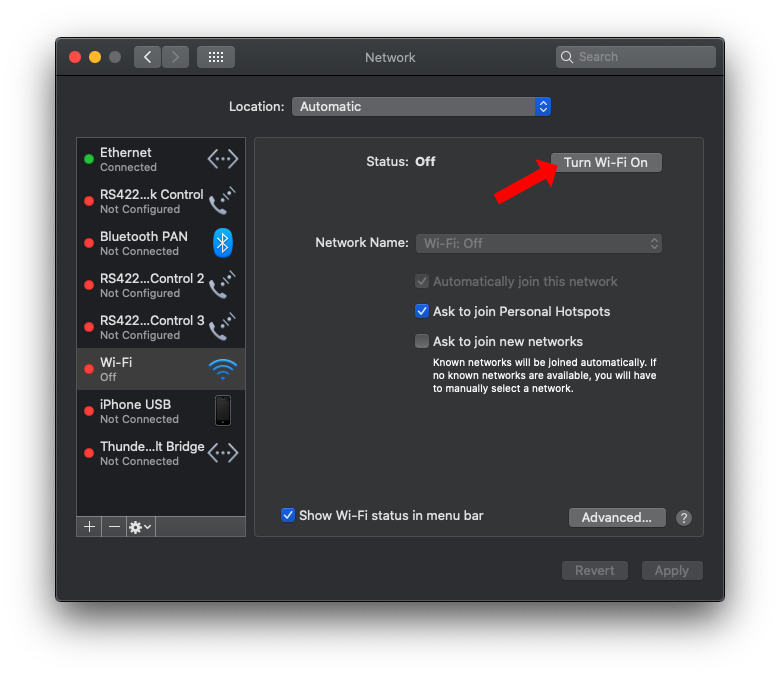
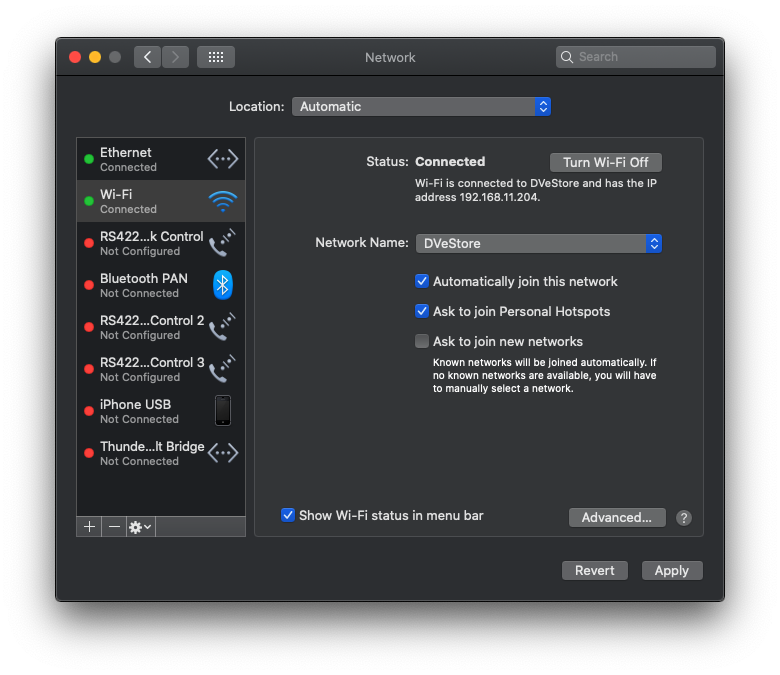
When the Wi-Fi is on, the connection will turn green in the left-hand column.
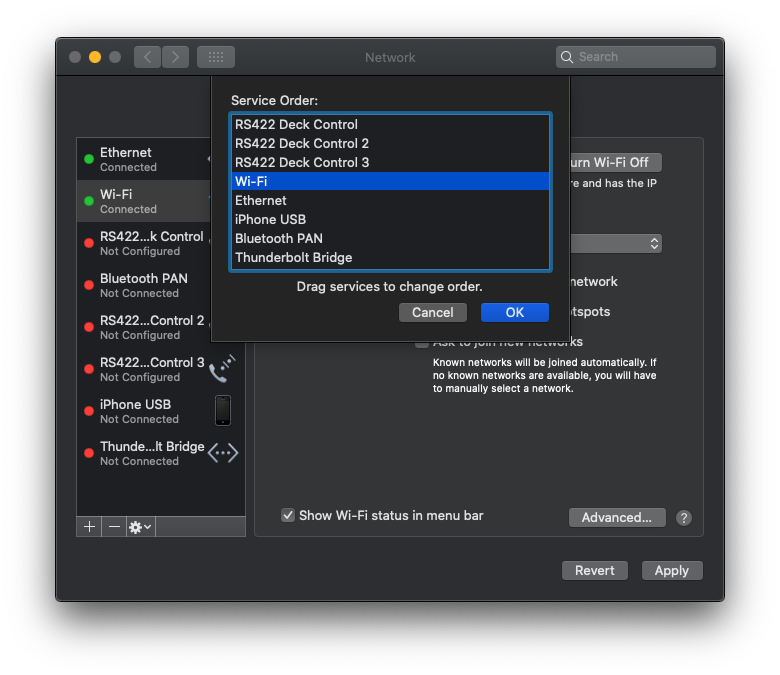
Go to the bottom of the column, click the gear icon, and select “Set Service Order”.
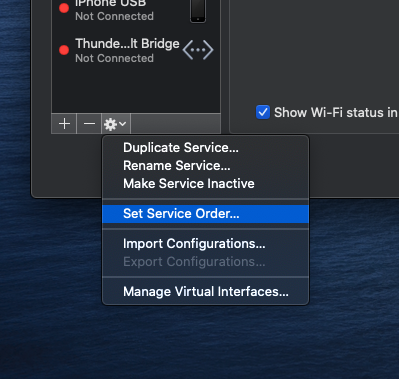
In the following window, you will be able to drag the Wi-Fi connection above the Ethernet connection. Hit OK, then Apply in the lower right corner.
In the left hand column of the Network settings, your Wi-Fi connection should now be listed above the ethernet connection.
This will allow your Wi-Fi to work without interfering with the ethernet LAN.
Hardwiring To Your Local Network
It’s much more complicated, but if Wi-Fi is not a good option, you can connect the One Button Studio to your existing network by running an ethernet cable from the wall to the rack-mounted switch in the cabinet. However, before you do that, you will want to check with your network administrator to obtain three available IP addresses. You’ll use them for the two Mac Minis, and for the camera.
Instructions for changing the IP address on the PTZOptics 12x or 20x camera, are here: https://help.ptzoptics.com/support/solutions/articles/13000003918-setting-up-your-static-ip-address-for-a-mac-
When that is done, you’ll need to update the PTZOptics Control Layer in mimoLive, with the new camera IP address.
See here to reset your zoom and focus presets: https://onebuttonstudio.info/updating-camera-zoom-and-focus-presets/
Recent Comments